
Affinity Diagram Tutorial
Tutorial
When to use this tool
Use this template to categorize ('affinitize') brainstormed ideas. This tool helps gather large amounts of language data (ideas, opinions, and issues) and organize them into groupings based on their natural relationships (affinity). The Affinity process is often used to group Voice of the Customer information derived from Market Research, or ideas generated by Brainstorming.
The Affinity process is a good way to get people to work on a creative level to address difficult issues. It may be used in situations that are unknown or unexplored by a team, or in circumstances that seem confusing or disorganized, such as when people with diverse experiences form a new team, or when members have incomplete knowledge of the area of analysis.
How to use the Affinity Diagram tool in EngineRoom
1. Open the Define menu (or Planning menu in the Standard roadmap) and click on the Affinity Diagram tool. The Affinity Diagram will open in a new tab
2. On the title screen, enter your problem statement as the title of your diagram. Adjust the paper size if needed
3. There are two options to add notes to the screen.
- Drag a note out from the left side of the screen. Begin typing to add your idea to the note.
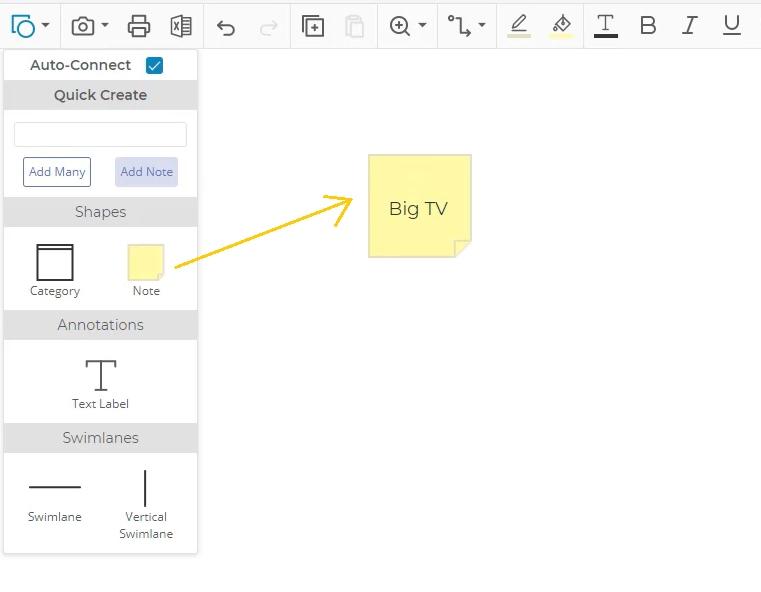
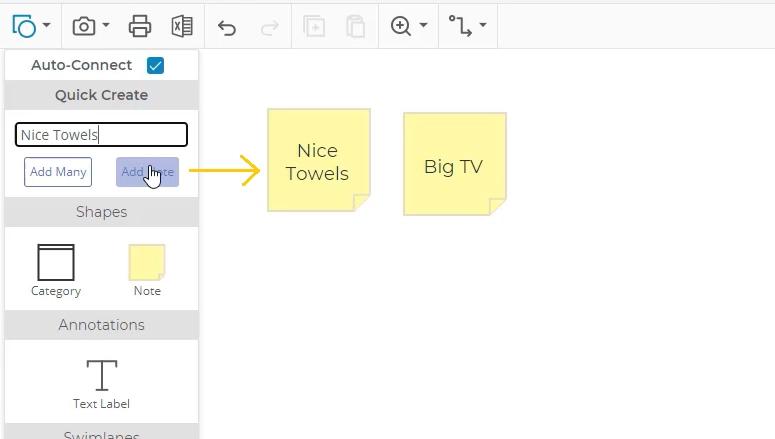
- Quick Create: The text box at the top of the Shapes Panel allows you to quickly type in many ideas and have a new sticky note created for each of them. Type in your idea and press enter or click "Add Note" to generate a note for that idea.
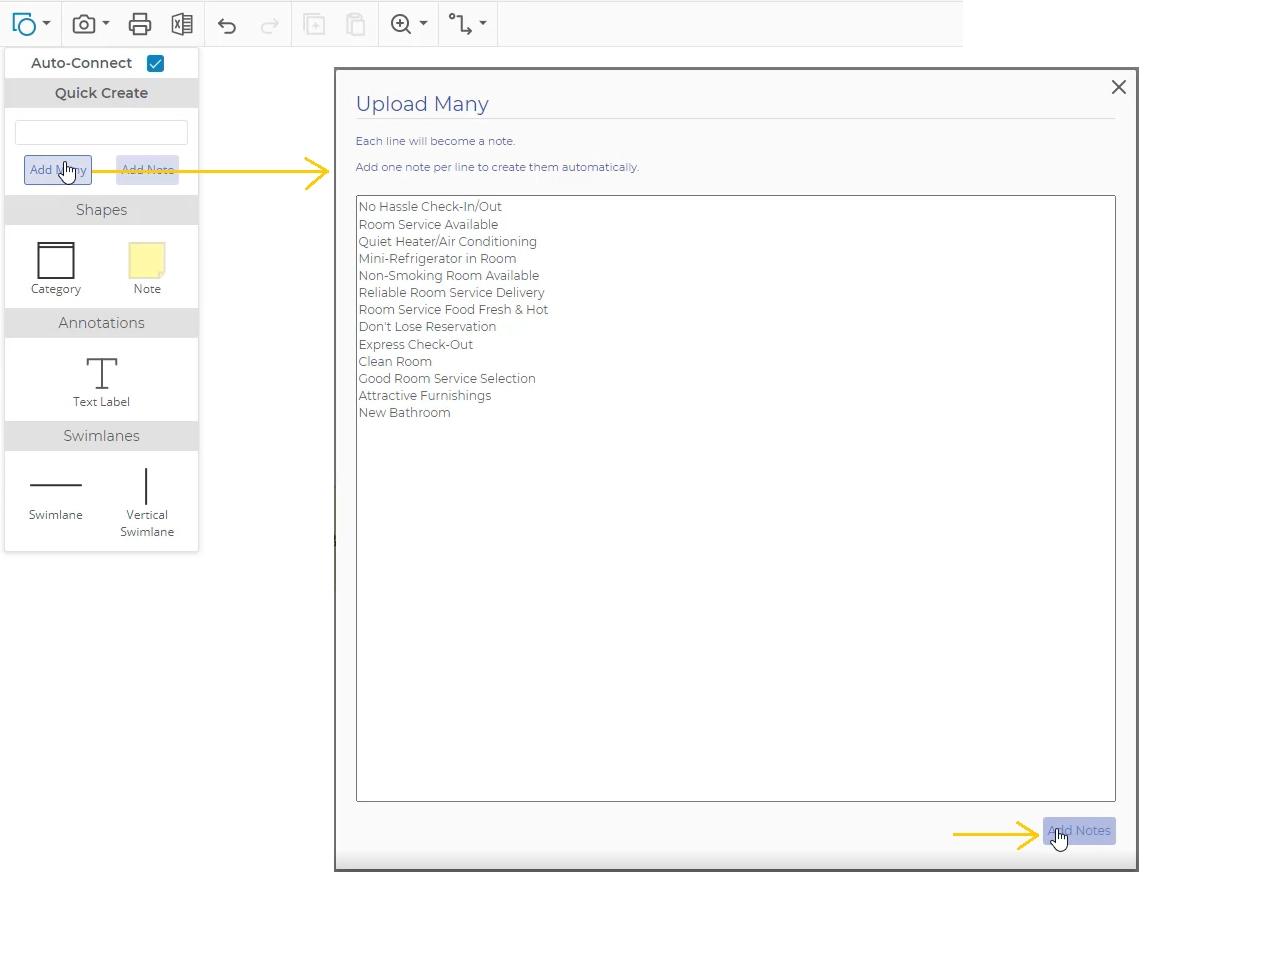
- Add several notes at a time: Click "Add Many" to open a text box which allows you to paste in a list of ideas from another source. Clicking 'Add Notes' will generate multiple notes corresponding to the number of rows in your list, saving time to create notes for a lot of ideas.
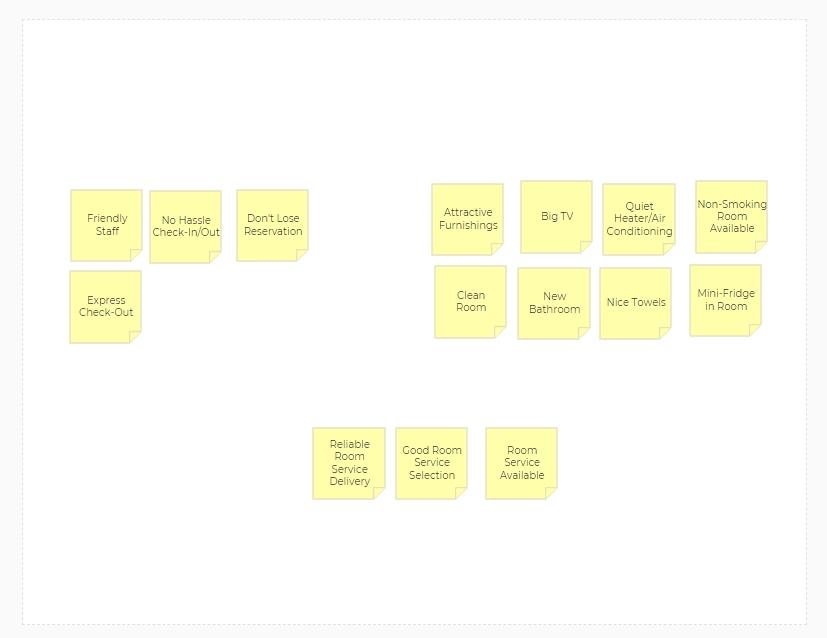
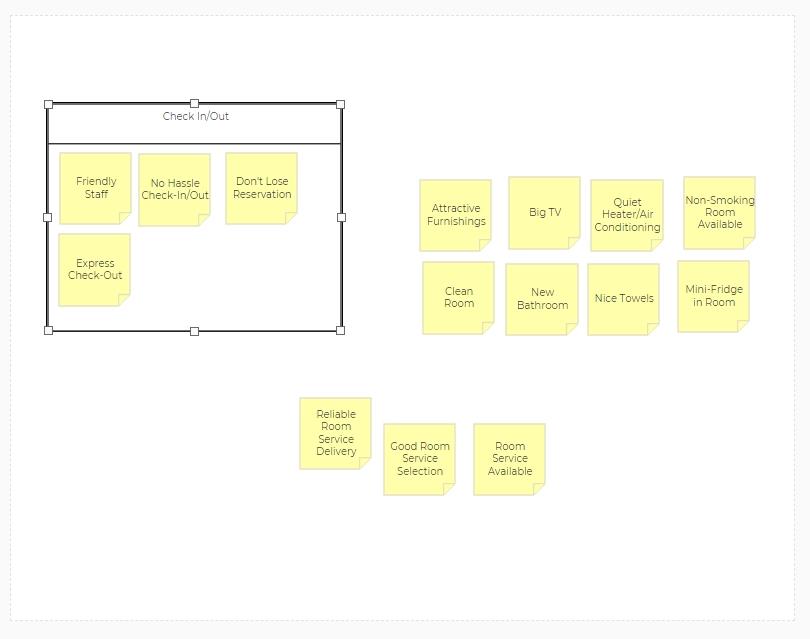
4. Once you create all your notes, it is time to categorize them. You can drag and drop your notes around the workspace to group them together.
5. Drag a category box out from the left side panel to create a container for your notes.
- Naming your Category: with the category selected, begin typing to add a title to the category
- Resizing your Category: with the category selected, drag one of the square resizing handles to change the size of the box.
6. You can create a category around notes or drag notes into the category box.
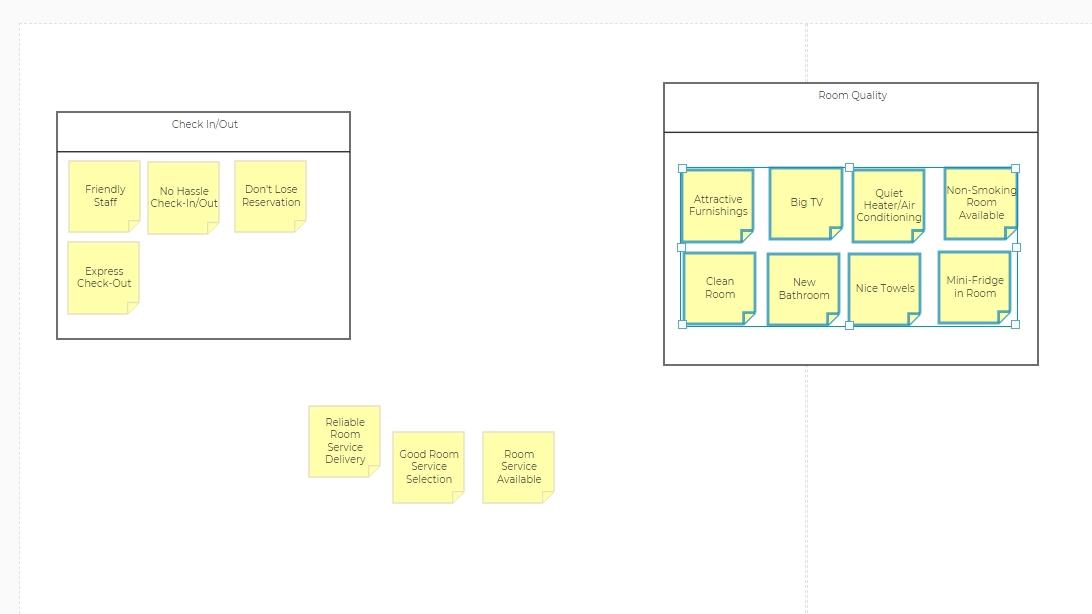
- Add multiple notes at once by multi-selecting them; click on the workspace and drag over a group of notes to select multiple at once. Then you can move them together. (You can also hold Shift and click individually.)
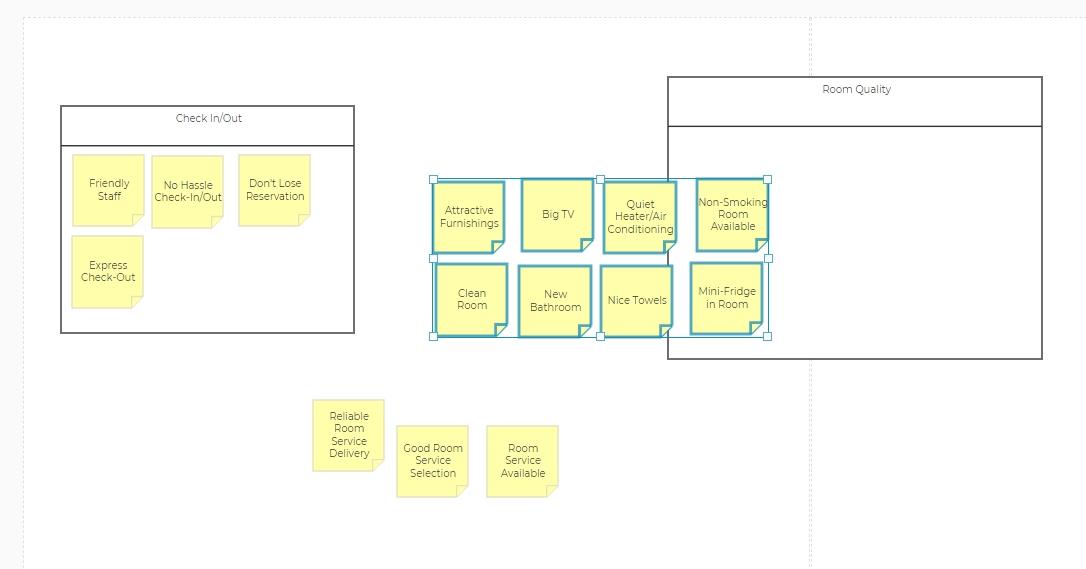
- Once notes are in a category, moving the category will move the contents as well.
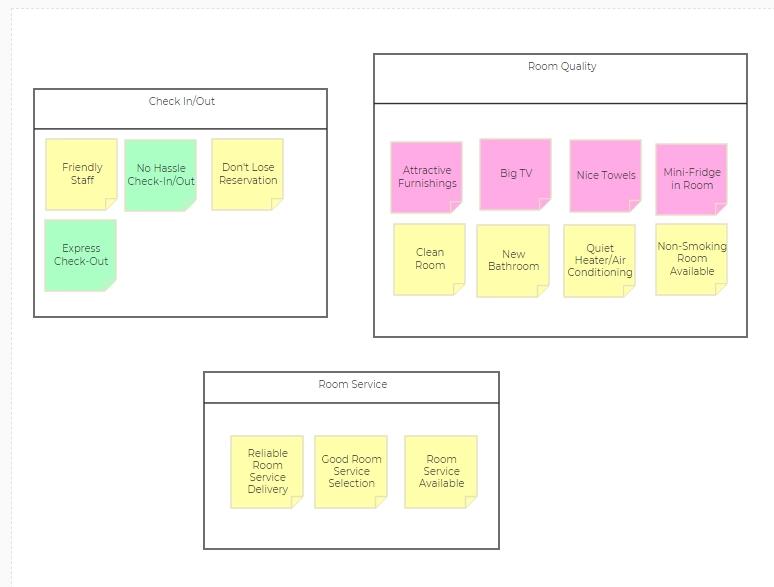
7. An additional level of categorization is also available by using different colors for the notes. Select a note and the toolbar options to change the style of the note appears, including the note’s background color, text color, and border color. You might use this to color code your notes based on function, such as IT-based ideas as green, and safety related ideas as red.
Next Step: Creating a CTQC
After you have completed your Affinity Diagram, you can transfer your category names over to a Critical To Quality Characteristics (CTQC) Tree diagram for further analysis. Once you have categories with titles on your diagram, click the CTQC Diagram space on the roadmap on the top right of the diagram. This will open a new CTQC Diagram based on your categories. Note: At this time, we only offer transfer of the category names, not the notes themselves.
Note: After you create a CTQC, updates to the Affinity Diagram will NOT carry forward.
Was this helpful?