
Dashboard Basics
Settings Bar
The dashboard's name is found in the settings bar at the top. You can view the dashboard options menu by clicking on the dashboard name or the drop-down arrow to the right of it. The home button on the left will return you to the home page where you can view another dashboard or create a new one. Logout of Coach View using the button on the far right.

Dashboard View vs. Table View
The default screen in Coach View is "Dashboard" View, which is a more visual-friendly format meant to communicate essential information at a glance. Switch to Table View to access a more detailed breakdown of student data.
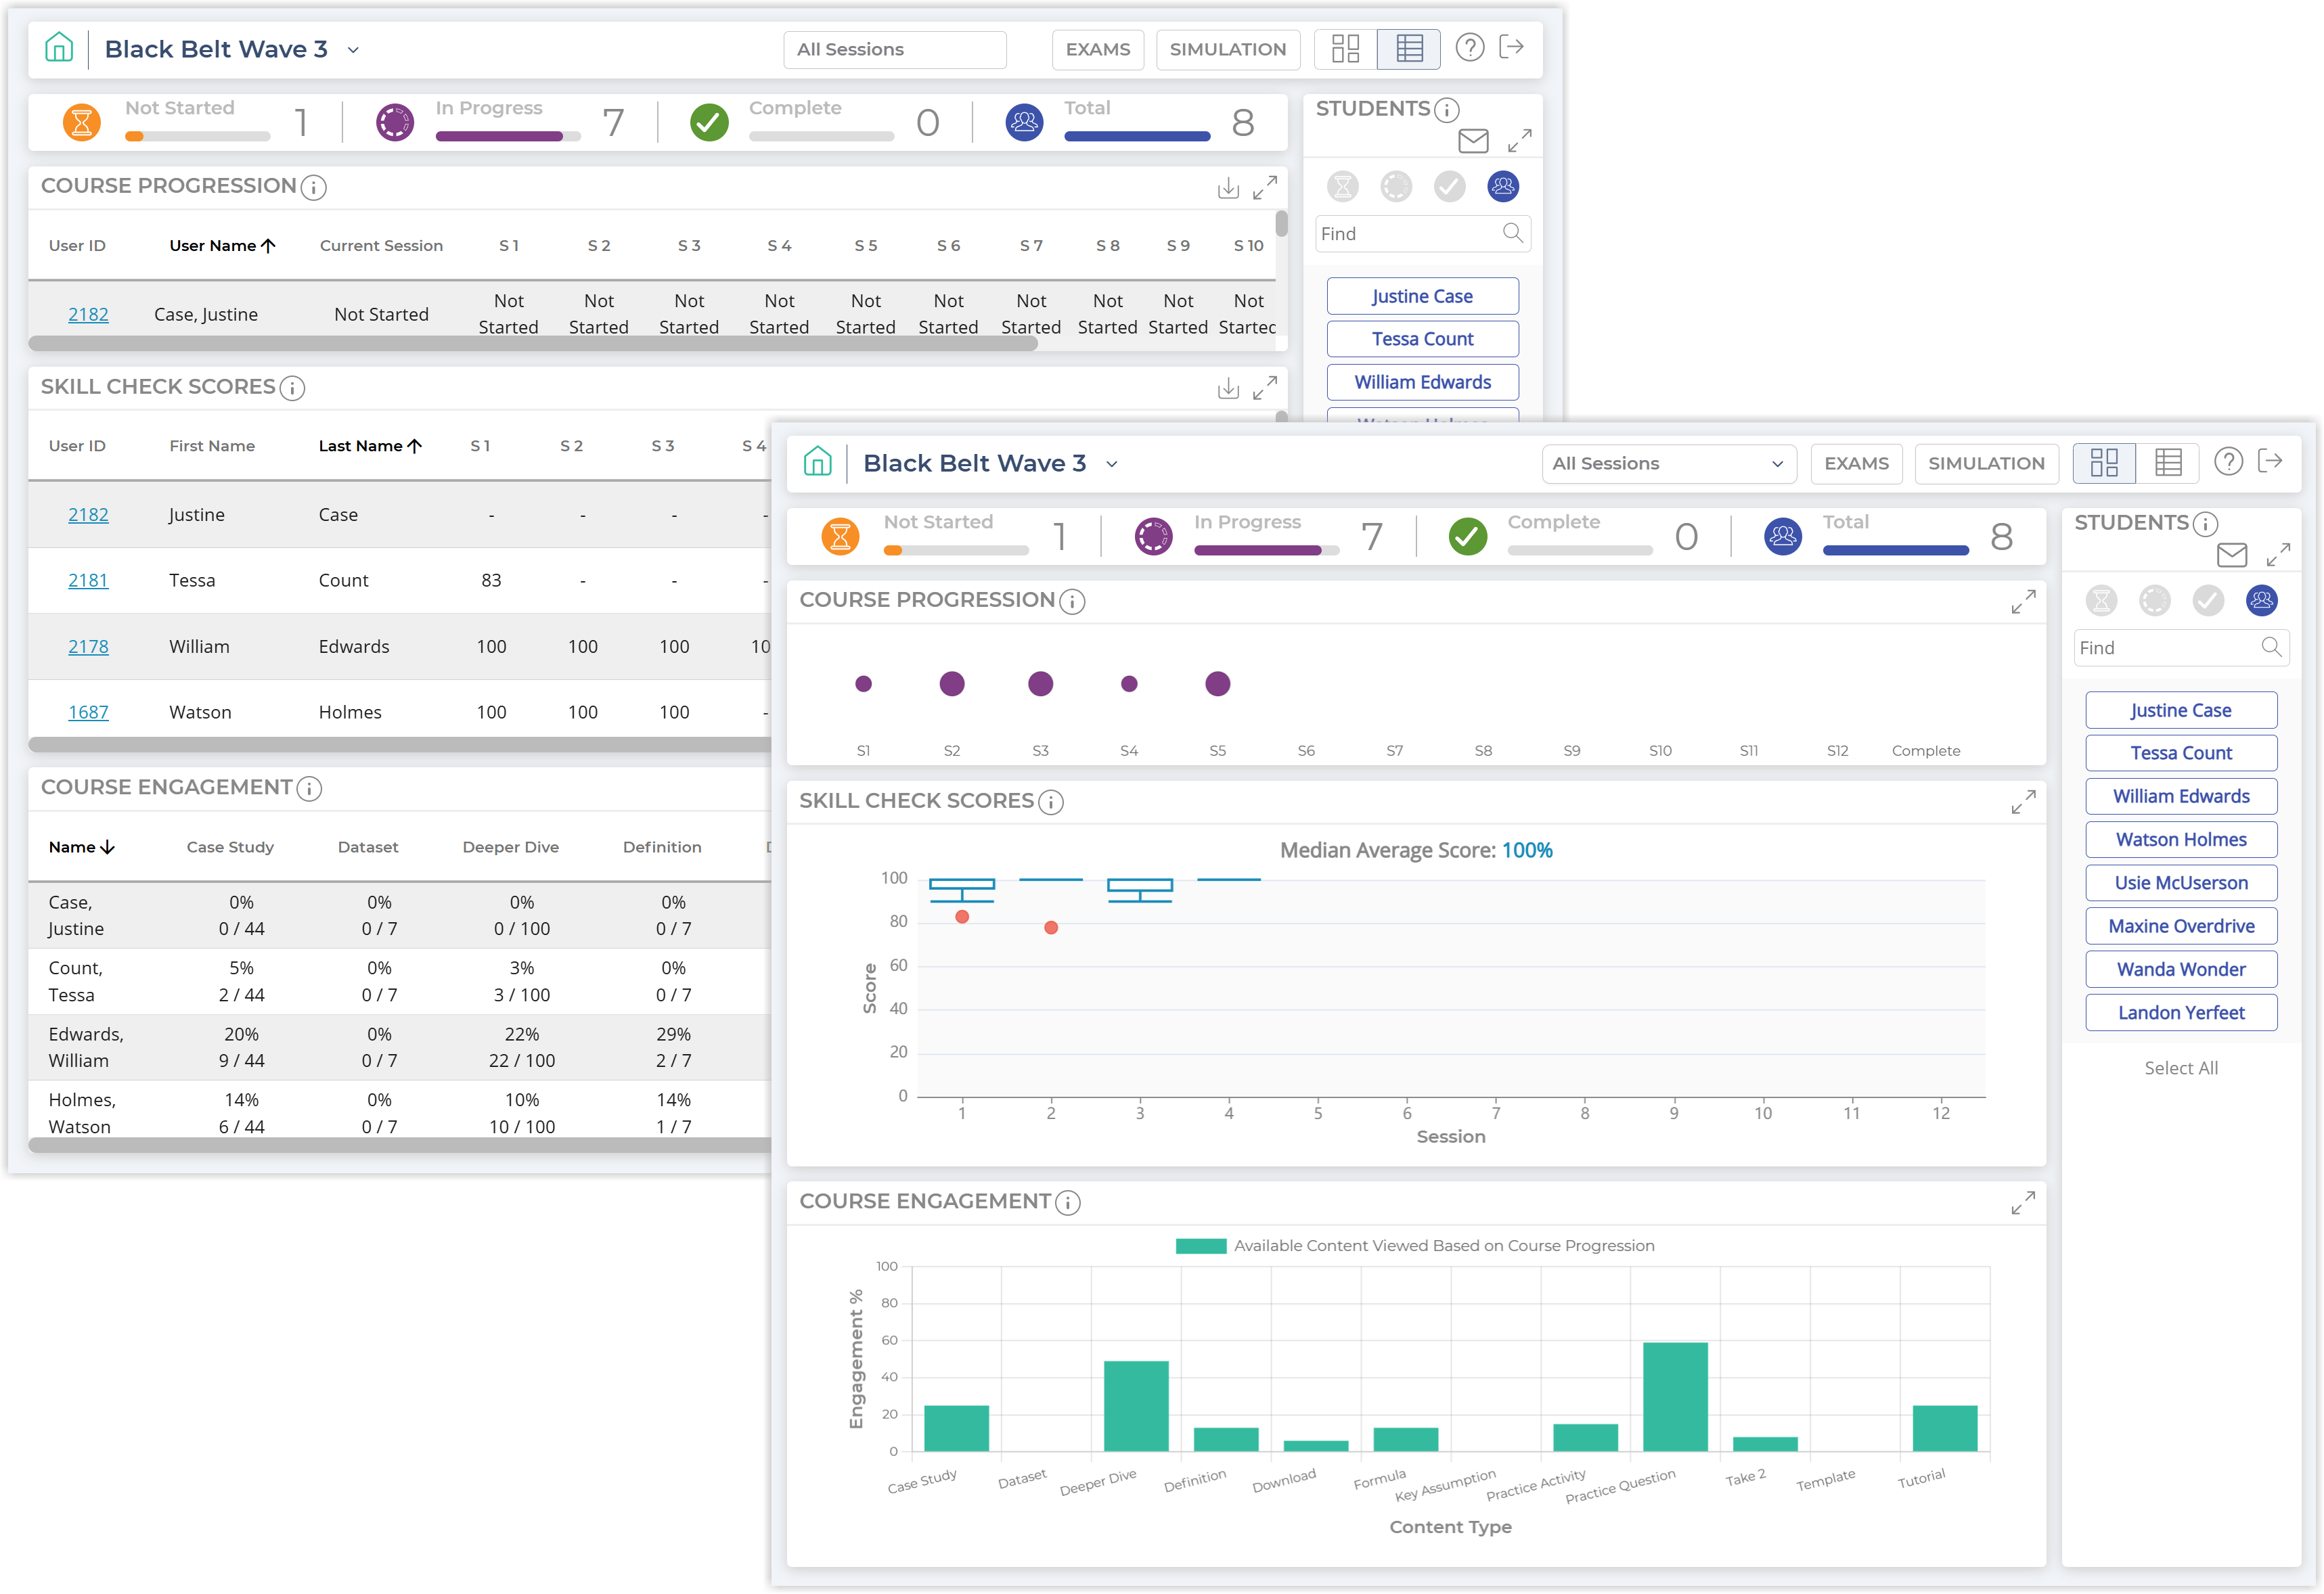
Table View (back) and Dashboard View (front)
Table View also introduces the option to download data as a CSV using the download icon in the top right of a given widget.
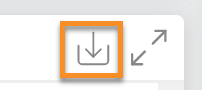
You can toggle between Dashboard View and Table View by selecting their respective icons in the top right of the dashboard.
Filters
The dashboard can be filtered in multiple ways: status, individual students, or by course session.
By Status
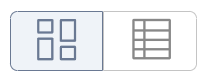
The status bar breaks down the students by course status (not started, in progress, and complete) and gives you the total count of users in your dashboard. Each of the colored icons also act as a filter. When clicked, the data displayed in the dashboard will update automatically.

The same status icons appear at the top of the student panel and can also be used to filter the dashboard.
Click the blue icon next to "Total" to reset the dashboard filter and see all user results again.
By Student
To see the results for one or more individuals, simply click their names in the student panel on the left. The dashboard will update automatically to only display the results for the selected user(s). Click "Select All" at the bottom on the student panel to see all the students in the dashboard again.
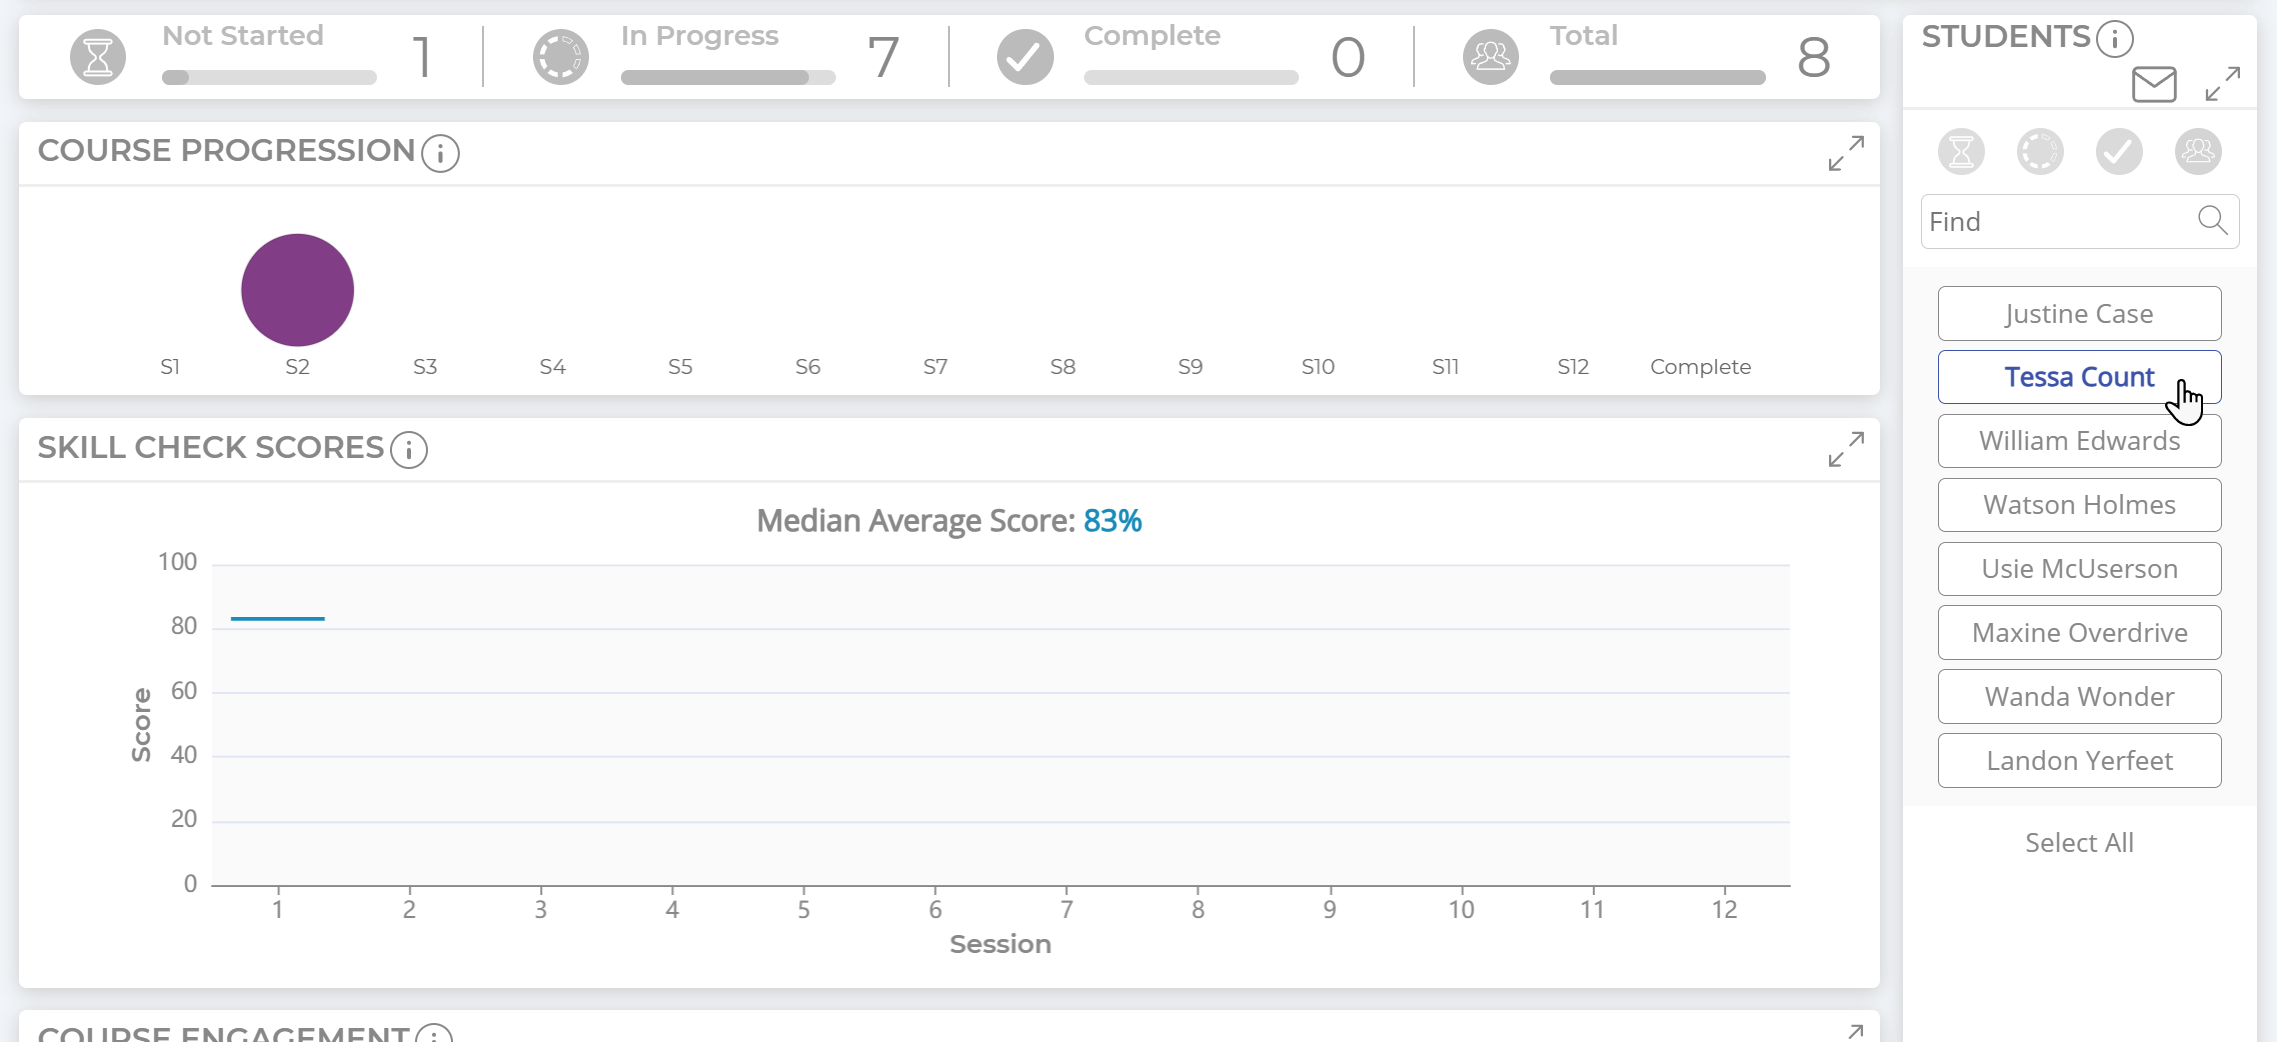
By Session
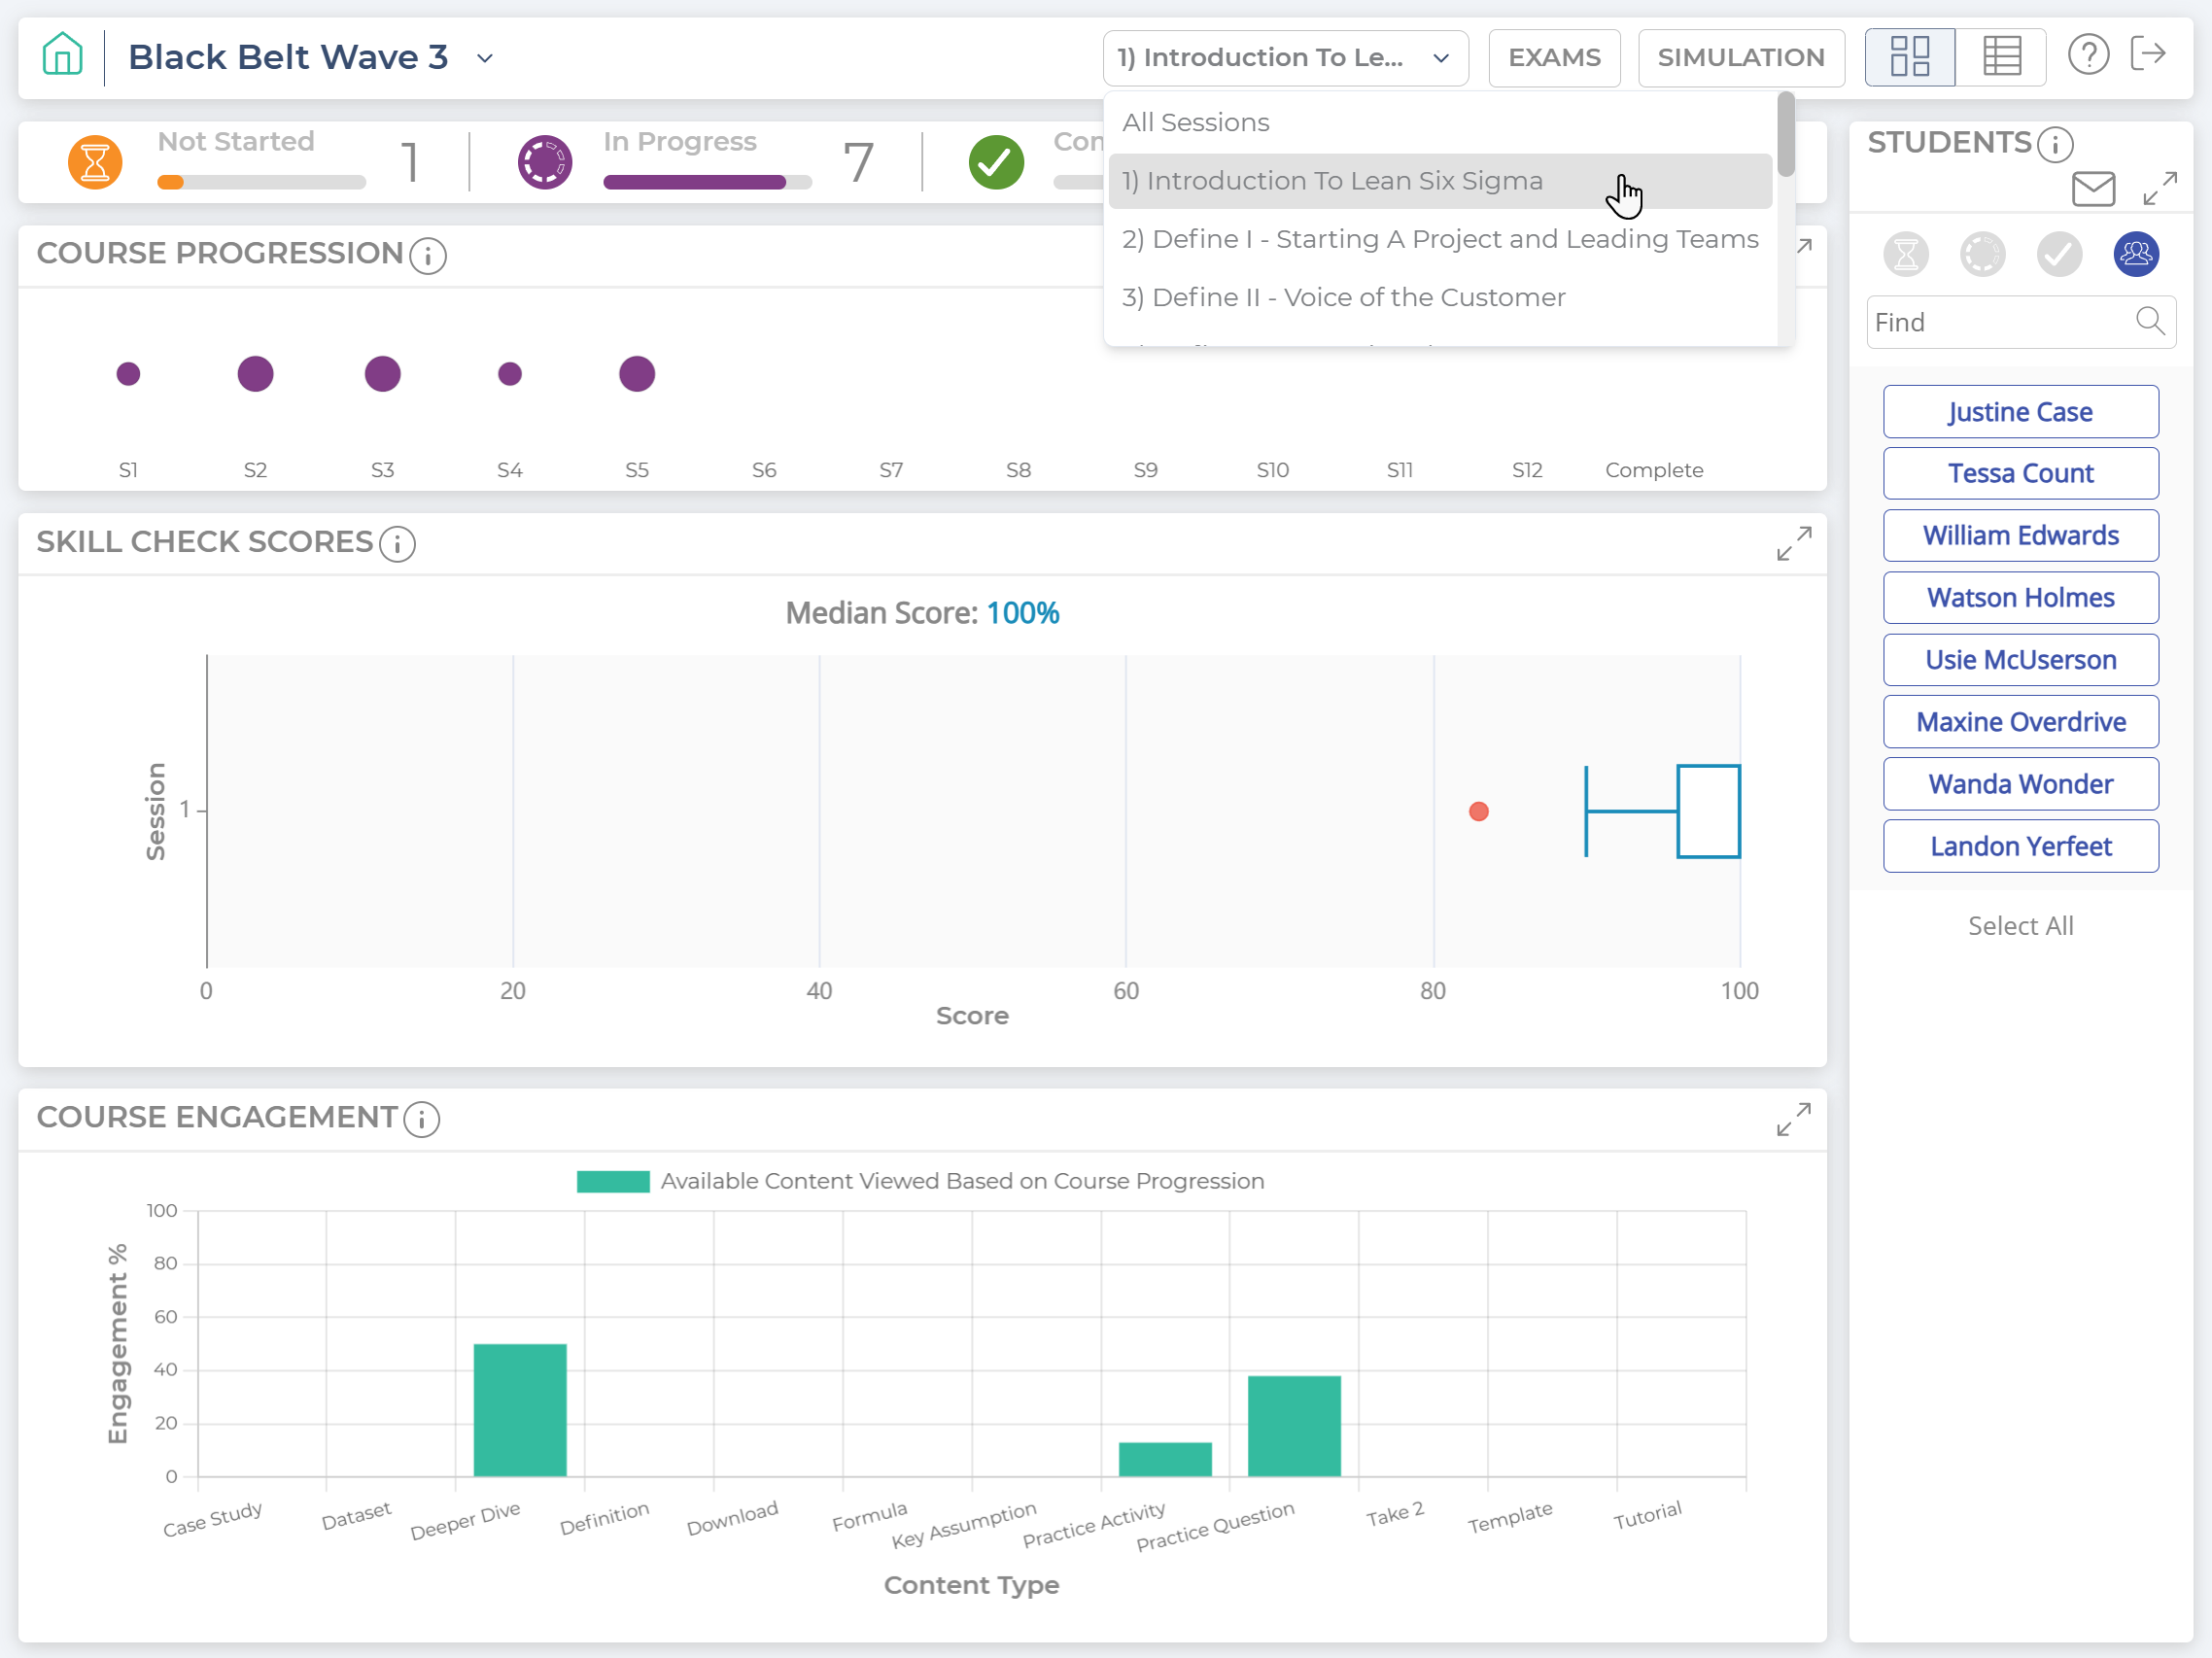
The dashboard is set to include all sessions in the course by default. If you would like to see the results for a specific session, select it from the session drop-down at the top.
Expanded View
For each widget, clicking the "Expand" arrows in the top right of the widget will open a larger, more detailed version of the widget. Expanded View provides a greater depth of information, such as each student's question-by-question results or session-by-session progress.

Note: The content of Expanded View is different depending on whether you started from Dashboard View or Table View. Make sure to check out both versions to see the wide breadth of data available.
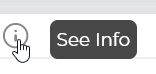
Tool Tips
If you ever have a question about how a widget works, simply click the "i" icon at the top of any given widget to see the reverse side of that widget, where helpful information will be displayed. Clicking the "i" again brings you back to the widget's "front."
Was this helpful?