
Create, Edit, and Share Dashboards
While on the Coach View home page, create a dashboard by clicking on the "Add Dashboard" button in the upper left corner.
Then type a name for your dashboard into the field labeled "Untitled Dashboard."

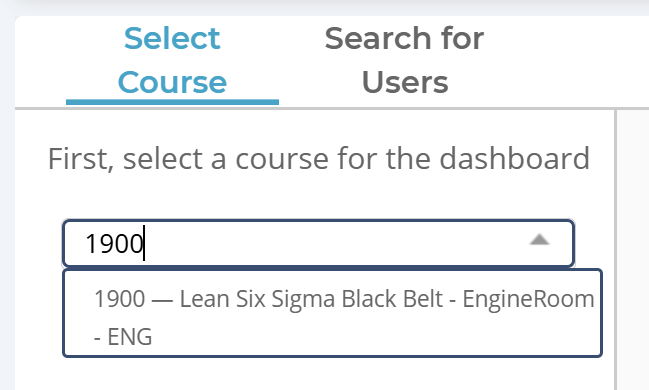
Next, select a course from which to find users for your dashboard. This is a necessary step, because the learning content varies from course to course, meaning each dashboard can only contain students from one course.
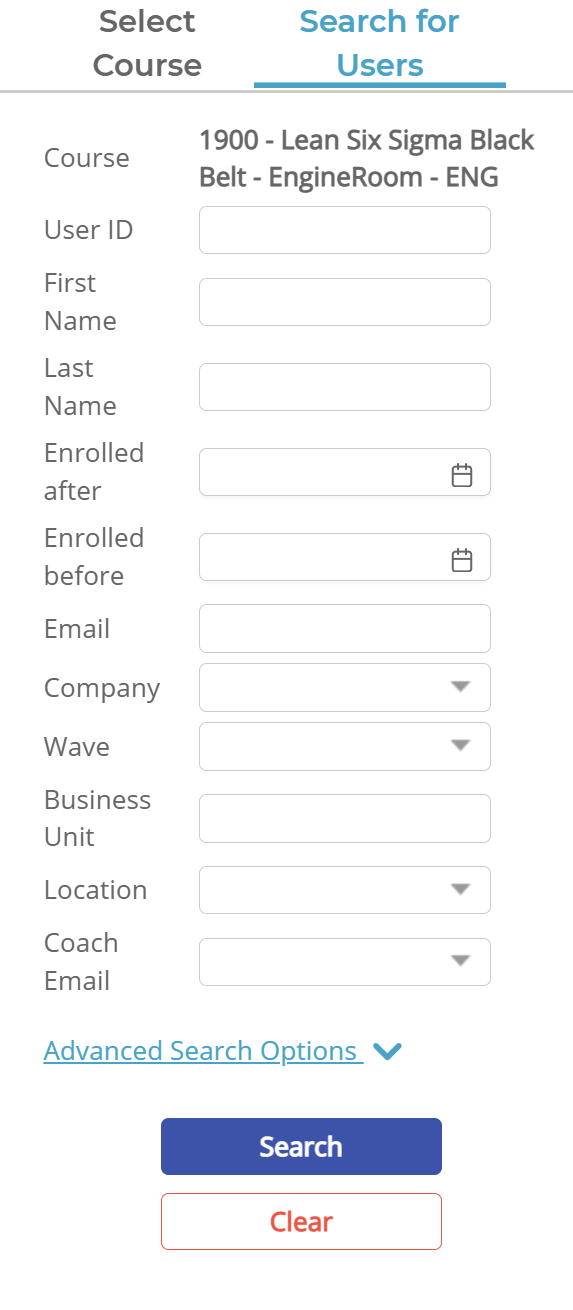
Next, search for users using the form on the left. You can search by individual user information (User ID, Name, Email) or you can search by date of enrollment into the course, Wave names, Business Unit, etc. A minimum of one field needs to be filled in for you to search for a user or users. Enter your criteria then click the "search" button.
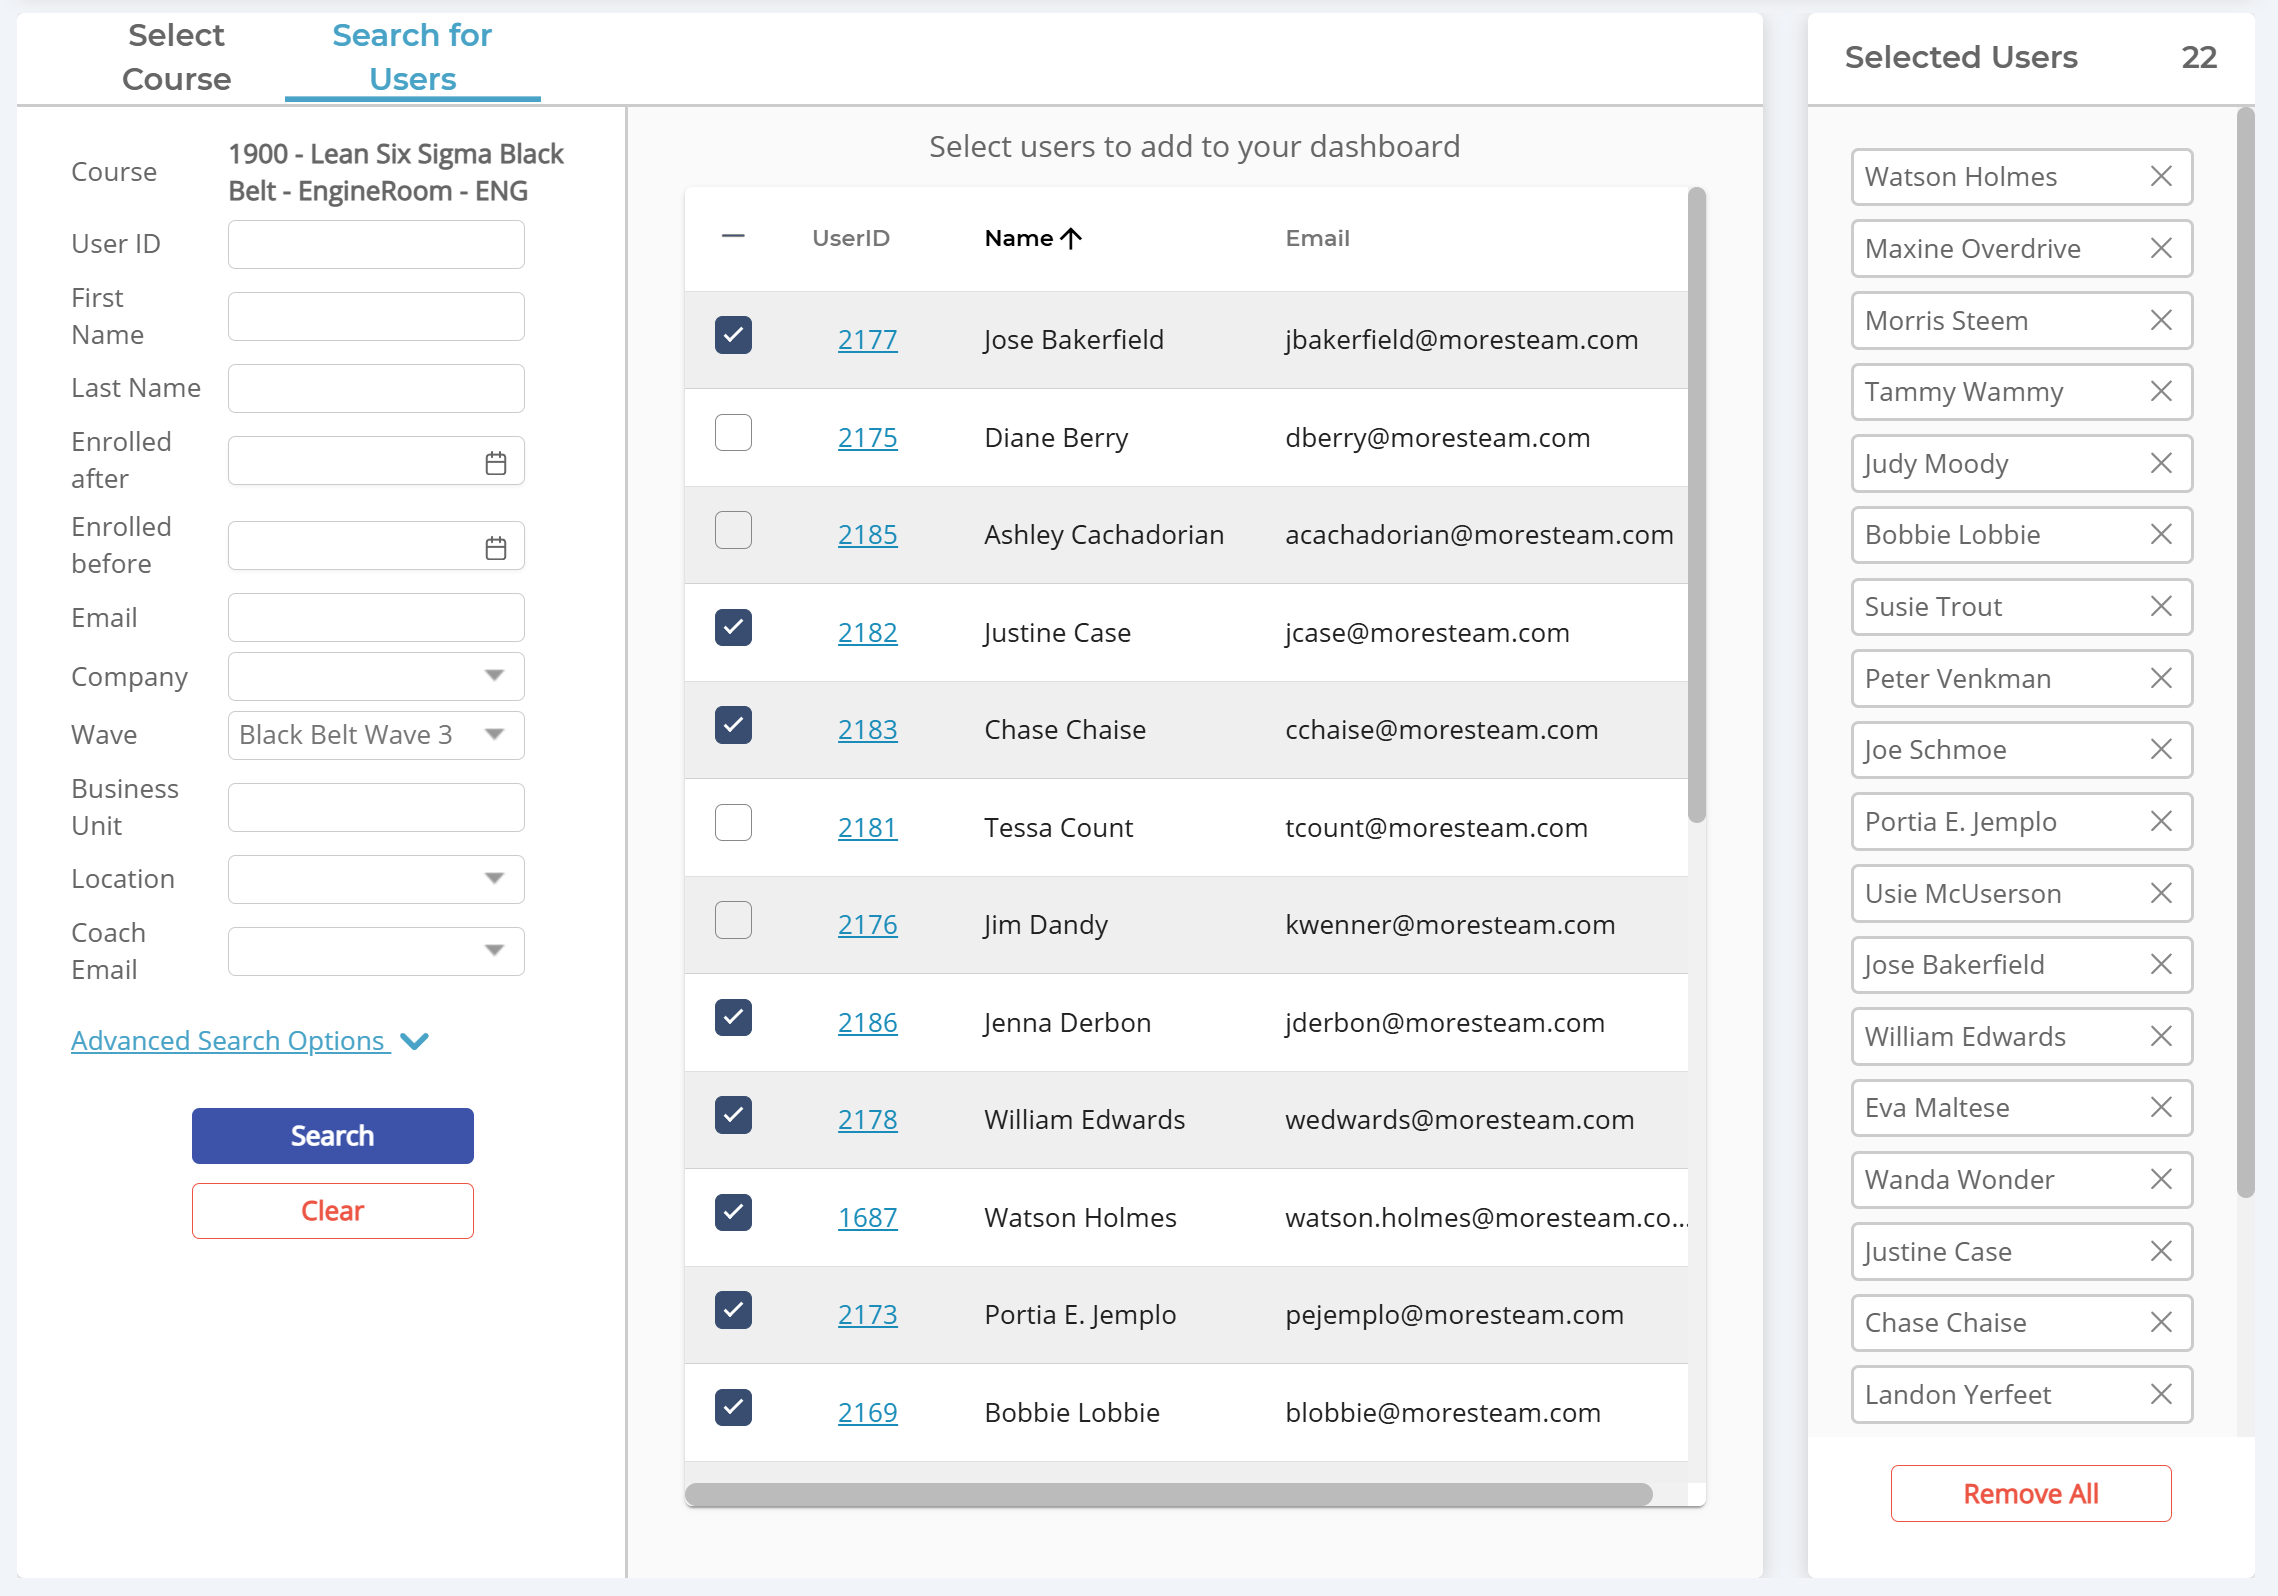
The search results will appear in the middle section. Clicking the checkbox next to any user that appears will add them to the "Selected Users" window on the right. If you wish to remove a user in this window, simply uncheck the box next to their name or click the "X" next to their name on the right.
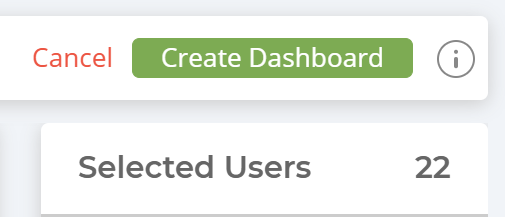
When you have selected a given cohort of students, click "Create Dashboard" in the top right of the screen.
Editing or Deleting a Dashboard
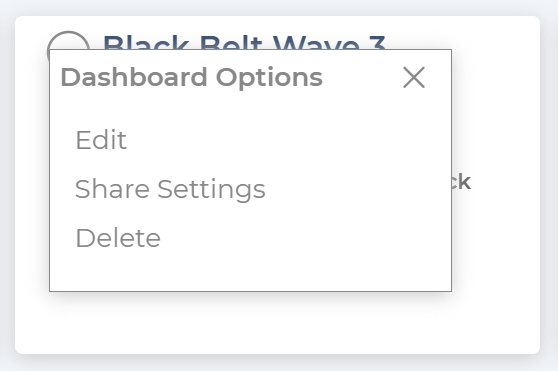
To edit the users in a dashboard after it has been created, simply click the circle with three dots next to the dashboard name. This will present you with two options: Edit Dashboard, and Delete Dashboard, as seen below:
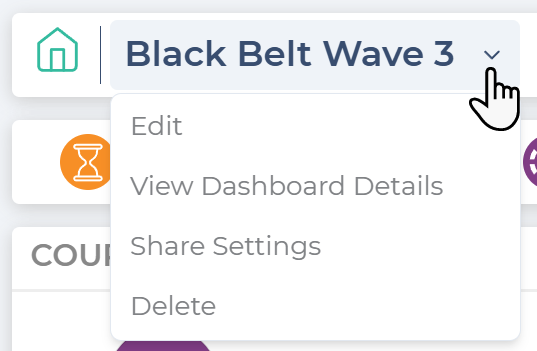
You can also edit dashboards from the "Home" screen (accessed by clicking the house icon in the top left corner of the screen) by clicking the same icon:
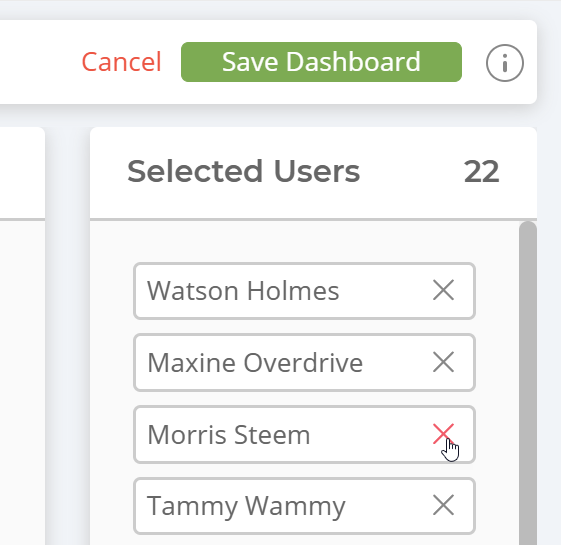
Clicking "Edit Dashboard" will take you back to the Search for Users step, where you can find and add additional students, or click the "X" next to selected users to remove them from the dashboard.
When you are finished editing, click the "Save Dashboard" button in the top right corner of the screen.
Sharing a Dashboard
You can share your dashboard with other users in your organization that have access to Coach View. Shared dashboards can only be edited by you (the owner). Others can make a copy of your dashboard that they can edit as they wish.
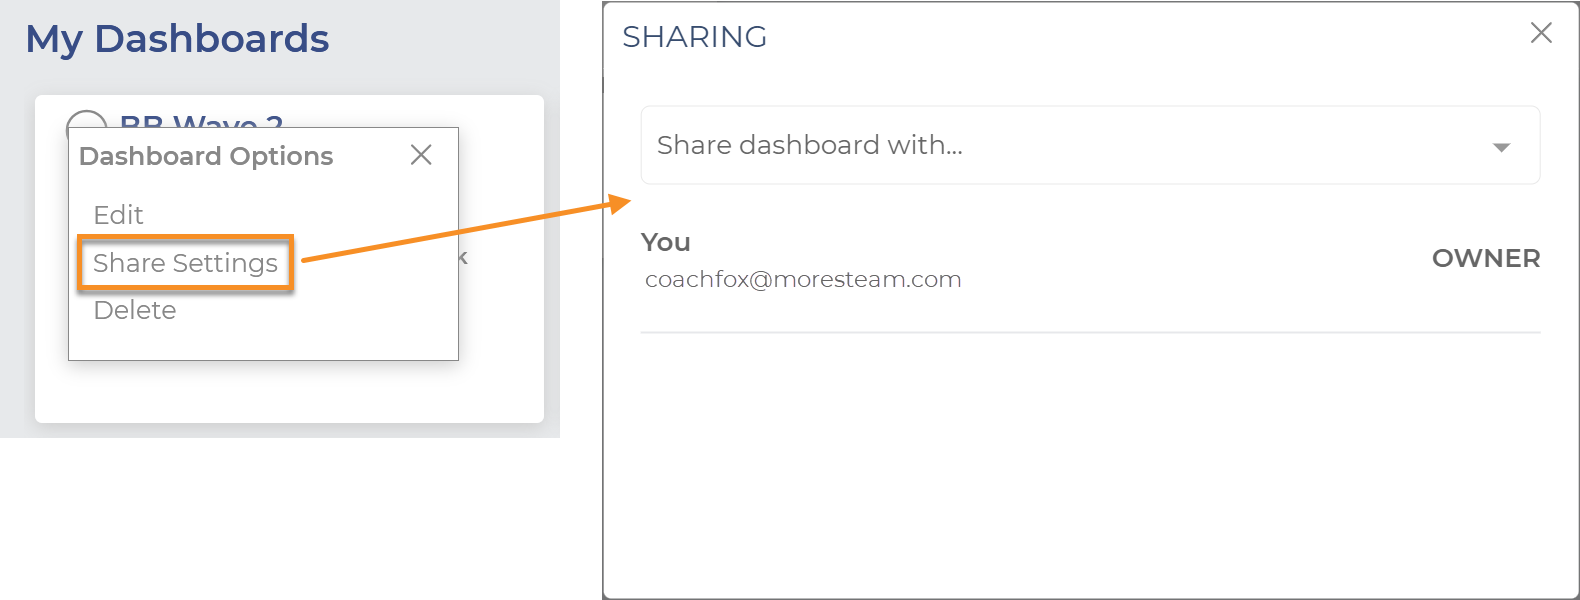
After you have created your dashboard, click the Options icon next to the dashboard name in the upper left corner and click "Share Settings".
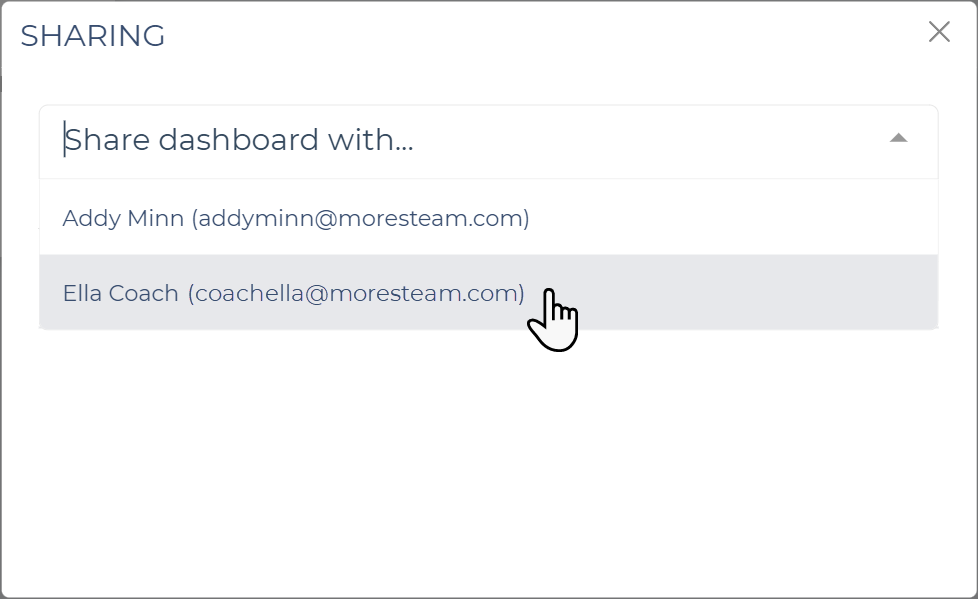
Search for users by scrolling down the drop-down list or enter the user's name. Only users from your organization that have access to Coach View will appear in this list. Click each name to add them to the share list.
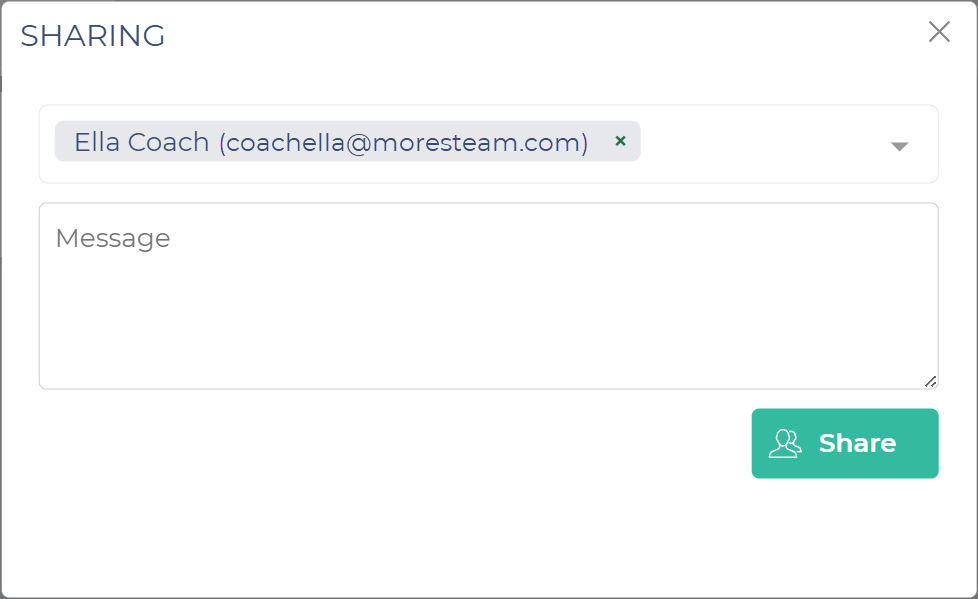
If you would like to add a message to the sharing notification email, you can enter it in the text box. When you're done, click the "Share" button in the lower right corner.
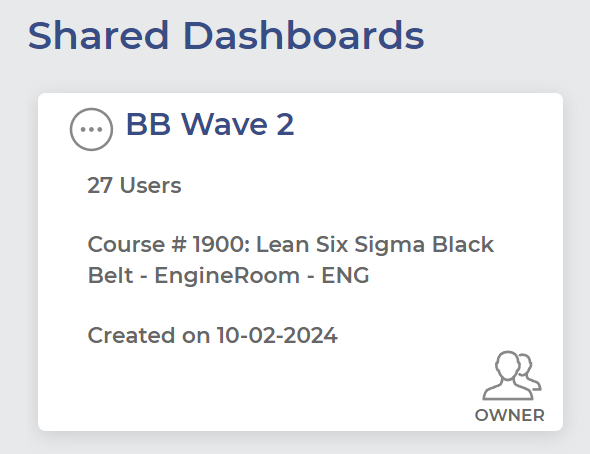
The users from your share list will receive a sharing notification via email and this dashboard will appear under the "Shared Dashboard" section on the Coach View Home page.
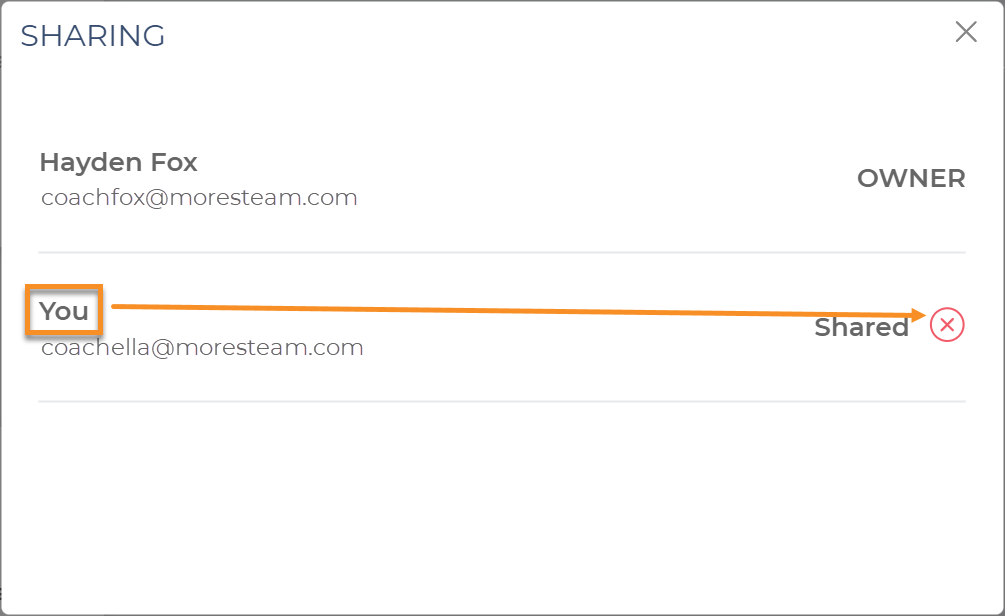
If you wish to remove someone from your sharing list, open the Share Settings and click the red X icon to the right of their name.
Similarly, if a dashboard has been shared with you but you no longer want to be on the share list, click the Share Settings and remove yourself from the list.
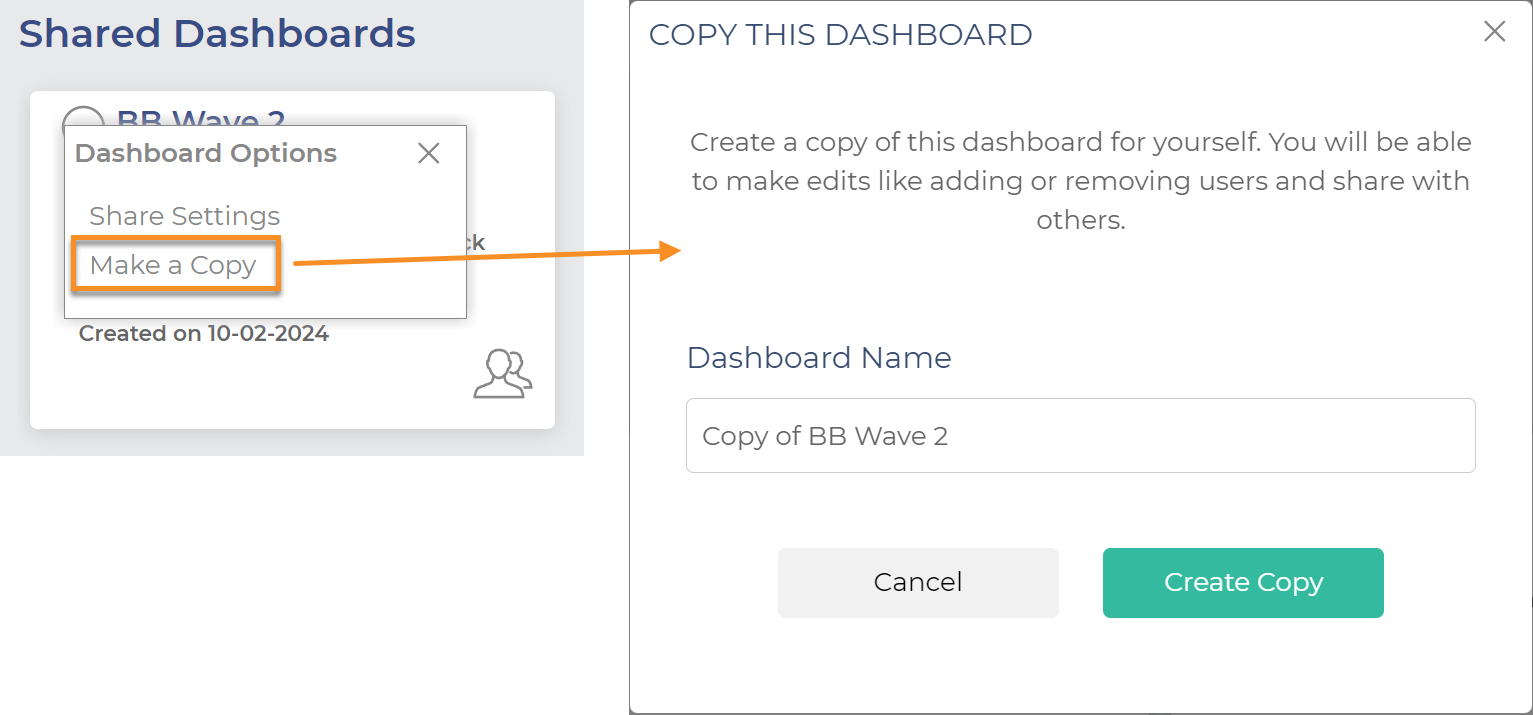
Only the "owner" of the dashboard can make edits. If you would like to edit a dashboard that has been shared with you, click the options icon and select "Make a copy". Rename the dashboard and click the "Create Copy" button. The new dashboard will open automatically (with you as the owner) and you can add or remove users or share it with others.
Was this helpful?